

It was easy to divide the hankies into 2 groups since they were so similar. My dilemma was making these hankies stand out. I know that white hankies on the normal white background makes for a boring quilt. I also know that backing white hankies with any color changes the color of the hanky and I like to keep the true colors. So here's what I did.
I cut a piece of white muslin a little bit smaller than the hanky and centered it beneath the hanky. This would keep the hanky color white no matter what colors came next.
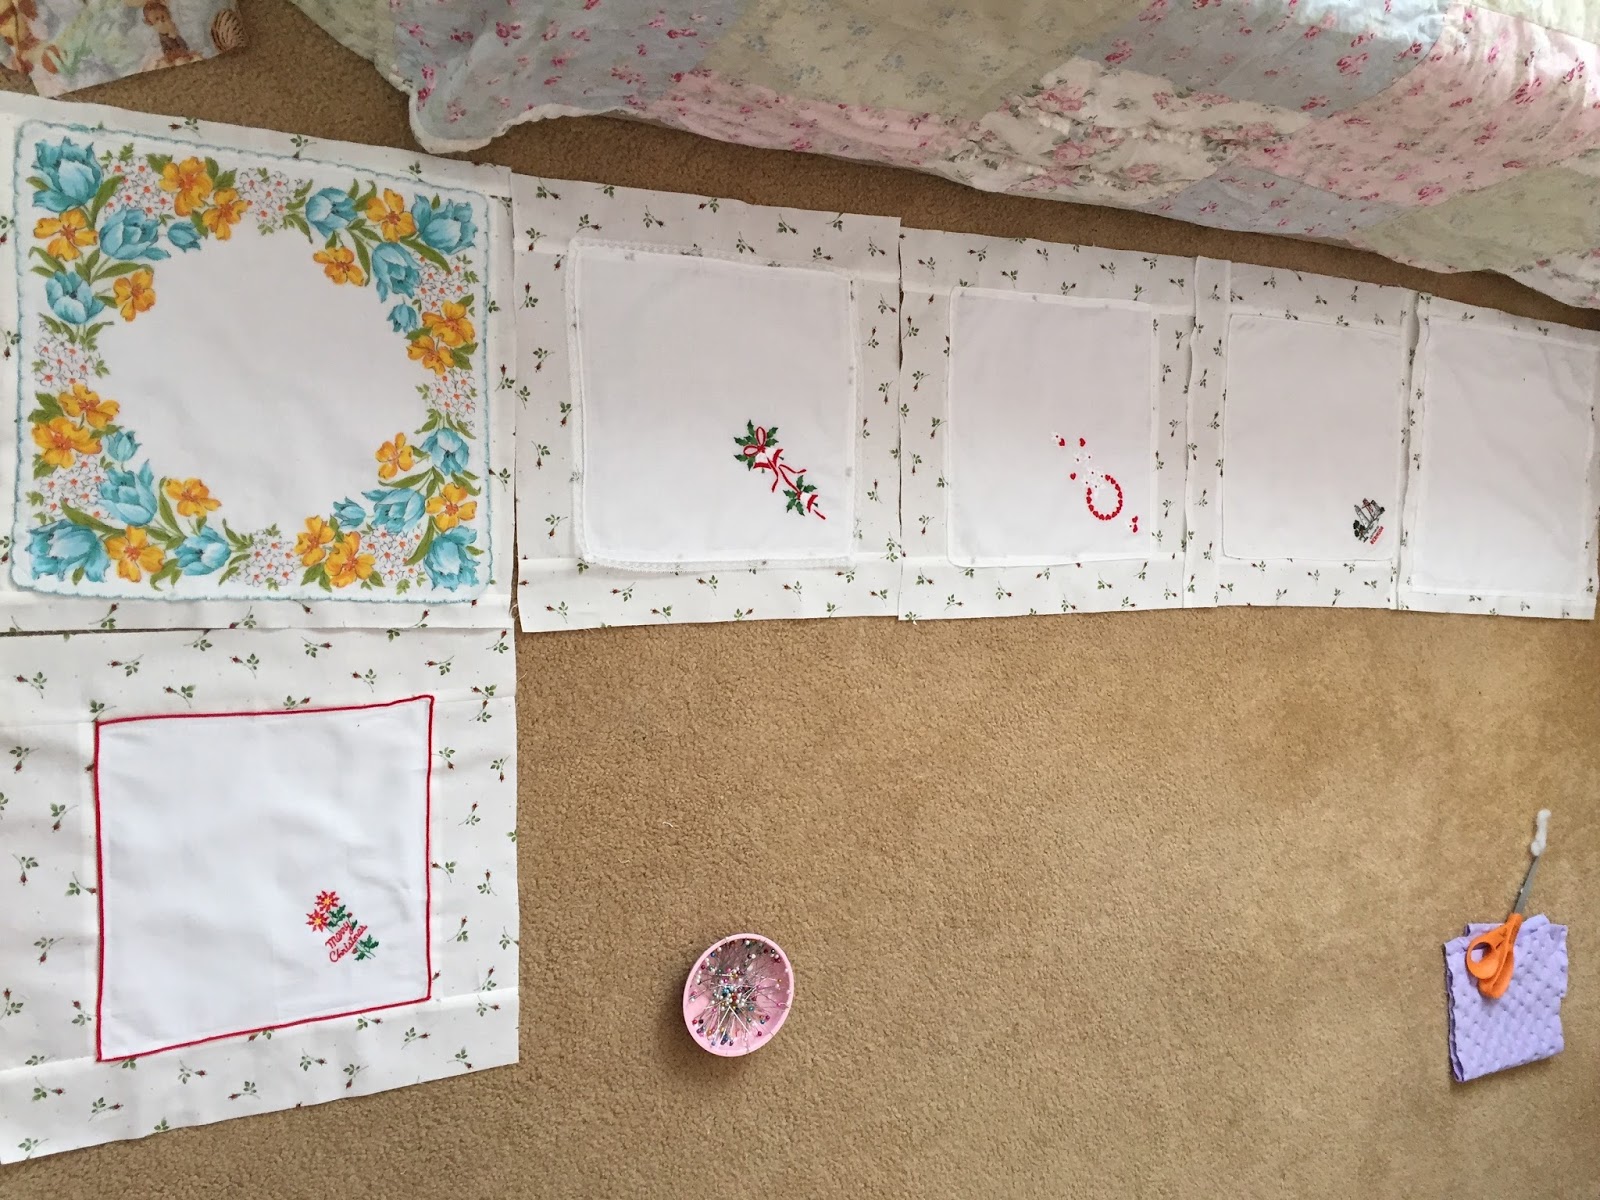
For the first quilt I used a printed fabric featuring rosebuds. I layered the hanky with the muslin centered on top of the rosebud squares. I saw that you still could see the fabric print underneath the hanky.

I knew all the squares were going to be 16". What I had to do was make a frame with the muslin and the rosebud fabric so that only the white muslin was directly under the hanky and strips of the rosebud fabric were sewn around the the muslin.
Then I placed that square onto two layers of very light pink flannel squares securing all the layers with the traditional X.

In the end I thought the white-ish hankies were still not highlighted in the best way since the rosebud fabric was also light white. (Luckily the customer loved how the first quilt turned out.)
The second quilt I did the same way except this time I put a pink flannel under the hanky with the muslin beneath and I used the rosebud fabric on the back.

One problem solved however, for this quilt I had another entirely different dilemma. The majority of the hankies were the same size around 13 - 14" so they fit nicely onto the 16" squares. There were two very large hankies that were larger than 16". I thought I would have to make all the squares 18" to accommodate those 2 hankies or cut the two hankies. Both options I did not want to do.
I ended up folding two of the edges of the large hankies in such a way that it still kept the design intact and then sewing the fold in place. You can kind of see what I did here.


Here is the final result for the 2nd quilt:


So two hanky rag quilts done. Two lessons about white hanky rag quilts learned.